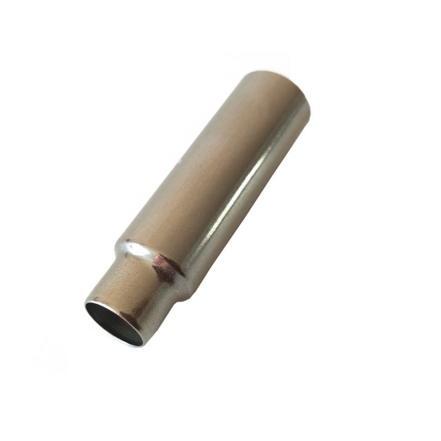
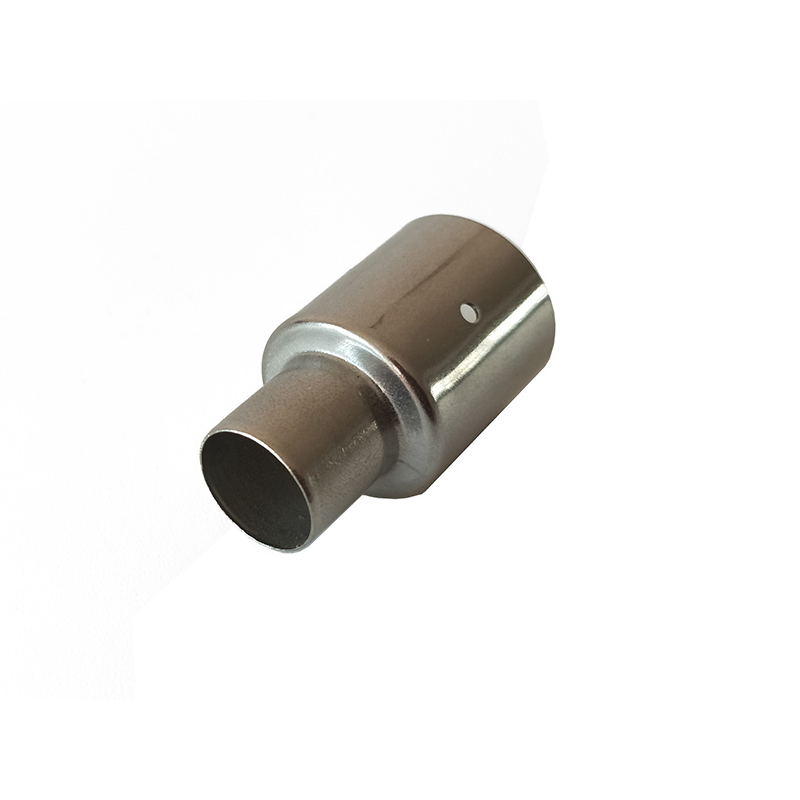
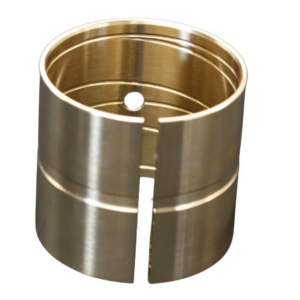
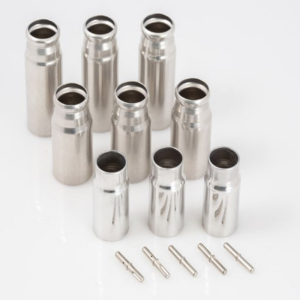
Deep drawing bushings are precision-engineered components used in various industrial applications to provide reliable support, reduce wear, and ensure smooth movement in machinery. Manufactured through the deep drawing process, these bushings are made from high-quality metals or alloys, offering excellent strength, durability, and resistance to wear and corrosion. Ideal for use in automotive, aerospace, and machinery systems, deep drawing bushings ensure optimal performance, longer service life, and reduced maintenance costs. Their precision design makes them a trusted choice for demanding applications requiring high reliability.
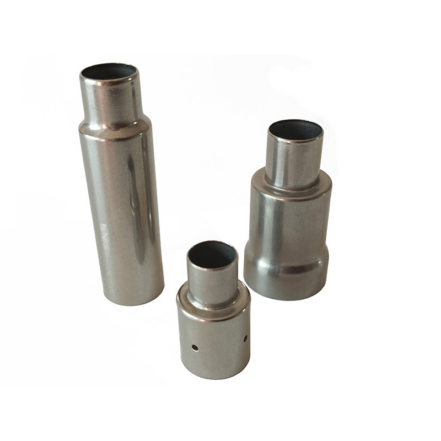
Specifications
Surface Treatments: Galvanized, nickel plated, black oxide, dacromet, chrome-plated, nylok, white washing, phosphate, gold plated, anti-corrosion coating, etc.
Sample Time: 7-12 days
Lead Time: 15-25 days
Payment Terms: T/T, L/C with 30% deposit, balance due before shipping
Packaging: Carton and pallet, customizable as per requirements
Delivery Methods: By sea or express
Applications:
Architectural Structures:Connect and support structural elements like beams, columns, and walls, ensuring stability and safety in construction.
Home Decor:Reinforce and connect furniture components, enhancing stability and durability in decorative applications.
Woodworking Projects:Enable woodworking professionals and hobbyists to build strong wooden structures such as frames and beams.
Mechanical Engineering:Connect and support mechanical parts, ensuring equipment reliability and stability.
Automotive Manufacturing:Provide robust connections and support for various vehicle components in the automotive industry.
Electronic Devices:Support and connect electronic components, ensuring device stability and performance.
Industrial Equipment:Essential for connecting and supporting mechanical parts, ensuring the smooth operation of industrial machinery.
Aerospace:Used for structural connections in aircraft and spacecraft, providing strong support and reliable connections.
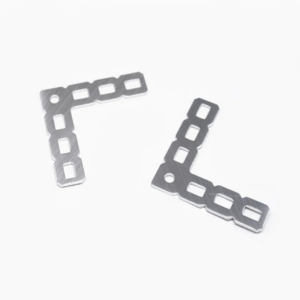
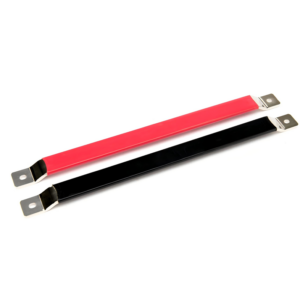
In summary ,angle brackets and straps are vital in timber construction, offering reliable solutions for creating strong connections. They enhance structural stability, safety, and longevity in various construction projects.
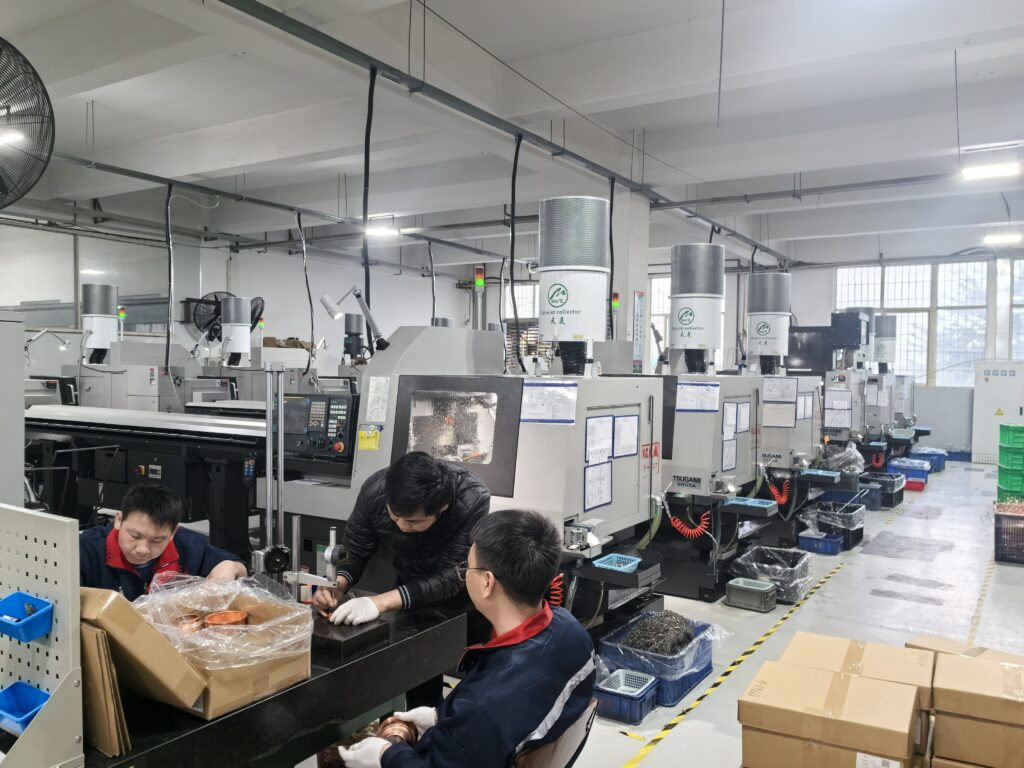
Quality Control Process for Metal Stamping
-
Incoming Material Inspection
– Description: Evaluate raw materials for compliance with specifications and quality standards before production. This includes testing material properties such as thickness, hardness, and chemical composition.
-
Pre-Production Sampling
– Description: Conduct initial trials and inspections on pre-production samples to ensure that the stamping process and tooling produce parts within the required tolerances and quality levels.
-
In-Process Monitoring
– Description: Implement continuous monitoring during production to ensure that the stamping process remains consistent. This includes checking for defects like warping, misalignment, and dimensional accuracy.
-
Dimensional Inspection
– Description: Use precision measuring instruments such as calipers, micrometers, and CMMs (Coordinate Measuring Machines) to verify that parts meet specified dimensions and tolerances.
-
Functional Testing
– Description: Test parts for proper functionality, ensuring they meet the required performance criteria. This may include checks for fit, alignment, and operational integrity.
-
Surface Quality Inspection
– Description: Inspect the surface finish of parts for defects such as scratches, dents, or coatings issues. This includes visual inspections and using tools to assess surface texture and coating integrity.
-
Post-Production Testing
– Description: Conduct additional tests on completed parts, including stress and load tests, to confirm durability and reliability under real-world conditions.
-
Final Inspection and Approval
– Description: Perform a comprehensive final inspection before shipping, ensuring that all parts meet quality standards and specifications. Approve or reject parts based on this thorough evaluation.
-
Documentation and Reporting
– Description: Maintain detailed records of quality control inspections and tests. Document any defects or non-conformance issues and report them for corrective actions.
-
Feedback and Continuous Improvement
– Description: Review quality control data to identify trends and areas for improvement. Implement corrective actions and process improvements to enhance overall product quality and efficiency.



Reviews
There are no reviews yet.